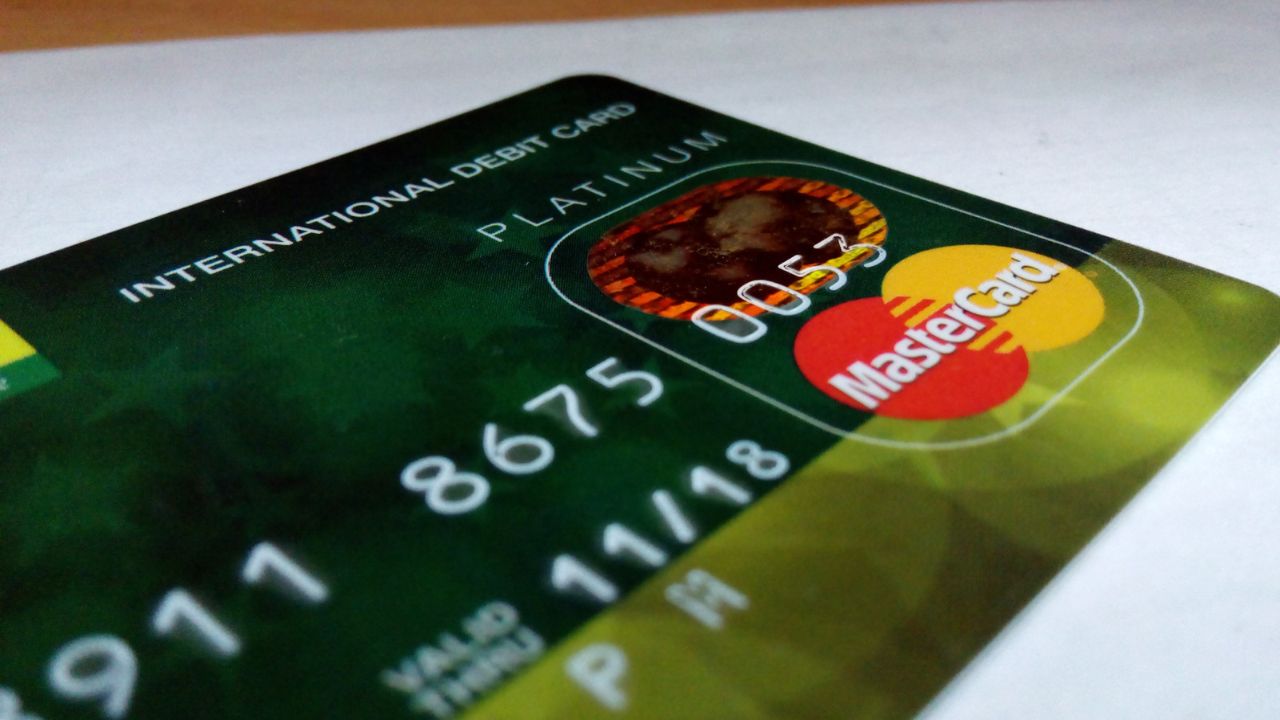
Example scenario: you buy a virtual card for online subscriptions and notice it could also pay at the coffee shop if it were in your phone wallet. You open Apple Wallet, type in the number, and get “Card Not Supported”. Your friend adds a different virtual card to Google Wallet in under a minute. Same phone type, same kind of card, different result.
Using a virtual card with Apple Pay or Google Pay is common, and when it works it turns an online-only card into one you can tap in stores. Whether it works depends on decisions made by the card issuer and the wallet, not on you. This guide explains how wallet provisioning works, walks through the steps for both wallets, and covers the reasons a card gets refused.
How adding a card to a wallet works
When you add a card to Apple Pay or Google Pay, the wallet does not simply store your card number. It asks the card network and the issuer to create a separate device token, a stand-in number tied to your phone or watch. When you tap or pay in an app, the merchant receives that token instead of your real card number.
That process involves three parties, and any one of them can say no:
- The wallet must be available in your country or region, on your device.
- The card network (Visa, Mastercard and so on) must support tokenization for that card.
- The issuer (the bank or institution behind the card) must take part in that wallet and approve this specific card. Issuers often verify you with a code by text, email or app before activating the token.
Apple’s own support pages note that some cards from participating banks may not be supported, which tells you approval happens card by card, not bank by bank.
Where it works and where it doesn’t
| Factor | Usually works when | Often fails when |
|---|---|---|
| Wallet country | The wallet supports payments in your country or region | The wallet is not available where you live |
| Issuer participation | The issuer takes part in that wallet | The issuer has not enabled the wallet, or not for this card type |
| Card type | The issuer allows the card type (some allow prepaid, some do not) | The issuer excludes prepaid or virtual cards from wallets |
| Verification | You can receive the issuer’s code or confirm in its app | The issuer cannot reach you or the details do not match |
| Merchant | The store takes contactless or the site offers Apple Pay or Google Pay | The merchant does not offer the wallet at checkout |
Apple publishes Apple’s list of countries and regions that support Apple Pay, and Google has Google’s supported countries page for Google Wallet, with features such as tap to pay listed by country. Check both before you assume a card will work.
How to add a virtual card to Apple Pay
- Open the Wallet app on your iPhone and tap the plus button.
- Choose to add a debit or credit card. Prepaid cards are added through the same option.
- Enter the card details manually: card number, expiry date, security code and the cardholder name. Use the details exactly as shown by the provider.
- Accept the issuer’s terms if asked. These come from the card issuer, not Apple.
- Complete verification by entering the code the issuer sends, or follow its instructions.
- Test it with a small contactless purchase or an online checkout that offers Apple Pay.
To use the card on an Apple Watch, add it again through the Watch app. Each device gets its own token.
How to add a virtual card to Google Pay
- Open Google Wallet on your Android phone and tap “Add to Wallet”.
- Choose payment card, then new credit or debit card.
- Enter the card details manually: number, expiry, security code and billing address.
- Accept the issuer’s terms and complete verification.
- Set up a screen lock if prompted. Google Wallet requires one for tap to pay.
- Test it with a small payment in a store or app.
Menu labels change between app versions, so look for the closest match if yours differs.
Troubleshooting common errors
“Card not supported” or “This card can’t be added”
The issuer has not enabled this card for the wallet, or not in your country. Nothing on your side fixes this. Ask the provider whether the card supports that wallet.
“Contact your card issuer”
Provisioning started but the issuer did not approve it automatically. The issuer may need to verify you. Contact the provider’s support with the error message.
Verification code never arrives
Check that the contact details the provider holds are current, then try again later. Repeated attempts in a short time can trigger extra checks.
Card added but payment declined
Check the balance, the card’s freeze status and whether the merchant accepts that network. A prepaid card with too little balance is declined like any other card.
Should I change my phone’s region to make it work?
No. Changing device region to force a wallet can break other services and may go against the wallet’s terms. If the wallet or issuer does not support your country, use the card online instead.
Is a wallet safer than typing the card number?
In most cases, yes. The merchant receives a device token rather than your card number, and each payment is confirmed with Face ID, Touch ID, fingerprint or passcode. If your phone is lost, you can remove cards remotely. The underlying card still matters: if the card itself is compromised online, freeze it with the provider.
Example: Vizovcc cards in a phone wallet
Vizovcc sells prepaid virtual cards and its card pages show Apple Pay and Google Pay compatibility. That makes it a useful example of how this works in practice, and of the limits.
You fund a Vizovcc balance with crypto, buy a card, and the number, expiry and security code appear in the dashboard once the card is ready, often within minutes. From there, you add the card to Apple Wallet or Google Wallet using the manual steps above. You can read more about its prepaid Visa and Mastercard cards on the Vizovcc site.
The honest caveat applies here as it does to every provider: whether any card can be added to a wallet depends on the card issuer and on the wallet’s rules in your country. A card page showing wallet compatibility tells you the card type has supported wallets, not that every phone in every country will accept it. Before you buy:
- Check the specific card page for its wallet notes and currency.
- Confirm Apple Pay or Google Pay works in your country using the official lists.
- Remember that card purchases are final, so make sure the card fits your use before buying.
- Keep enough balance for the purchase, since the card is prepaid and cannot go below zero.
Other Vizovcc features carry over to wallet use: you can freeze and unfreeze a card from the dashboard, cards support 3D Secure for online checkouts, and you can hold several cards from one balance. Funding is crypto only, and any merchant can still decline a prepaid card.
FAQ
Can prepaid virtual cards be added to Apple Pay?
Many can, if the issuer allows prepaid cards in Apple Pay and Apple Pay is available in your country. Some issuers exclude prepaid cards.
Does Google Pay work with virtual cards?
Yes, when the issuer supports Google Wallet for that card and tap to pay is available in your country. Online payments in apps and websites have their own country list.
Do I need the physical card to add a card to a wallet?
No. You enter the number manually, which is how virtual cards are added.
Key takeaways
- Wallets create a device token for your card, and the issuer must approve each card.
- Wallet country, issuer participation and card type decide whether a card can be added.
- “Card not supported” is an issuer or country decision, not something you can fix on your phone.
- Check the official country lists and the card page before buying a card for wallet use.
- Wallet payments hide your card number from merchants, which is a security plus.
Before you buy any virtual card for tap-to-pay, check the wallet’s country list and the card’s own page. If you want a prepaid card whose pages list Apple Pay and Google Pay compatibility, take a look at Vizovcc and confirm the details for your country first.
Leave a Reply